
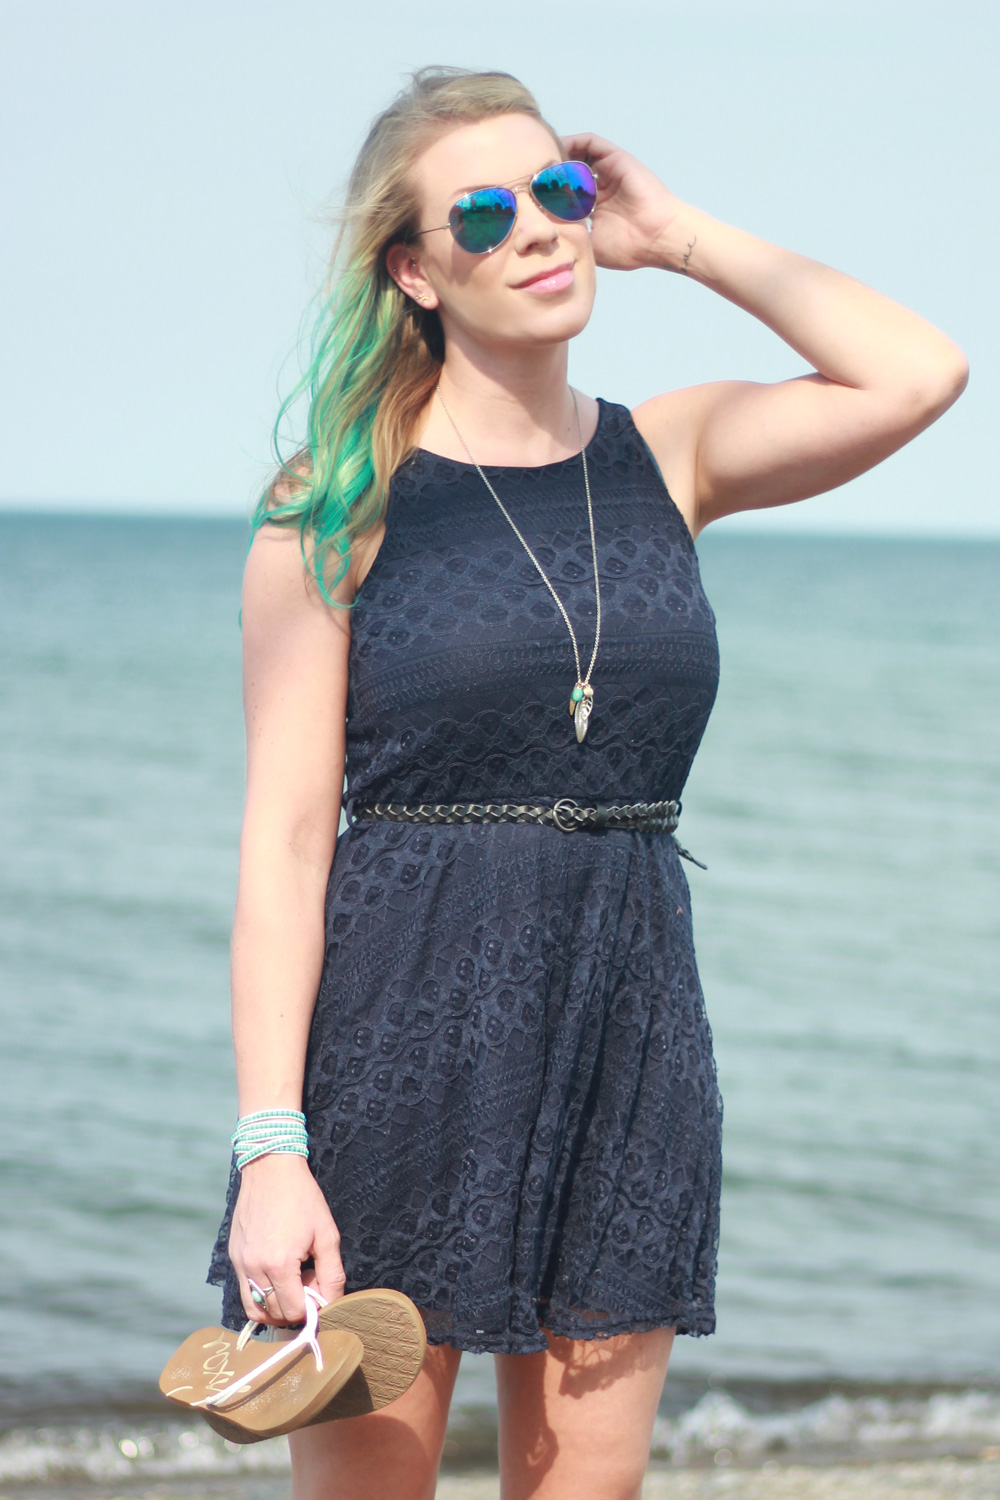
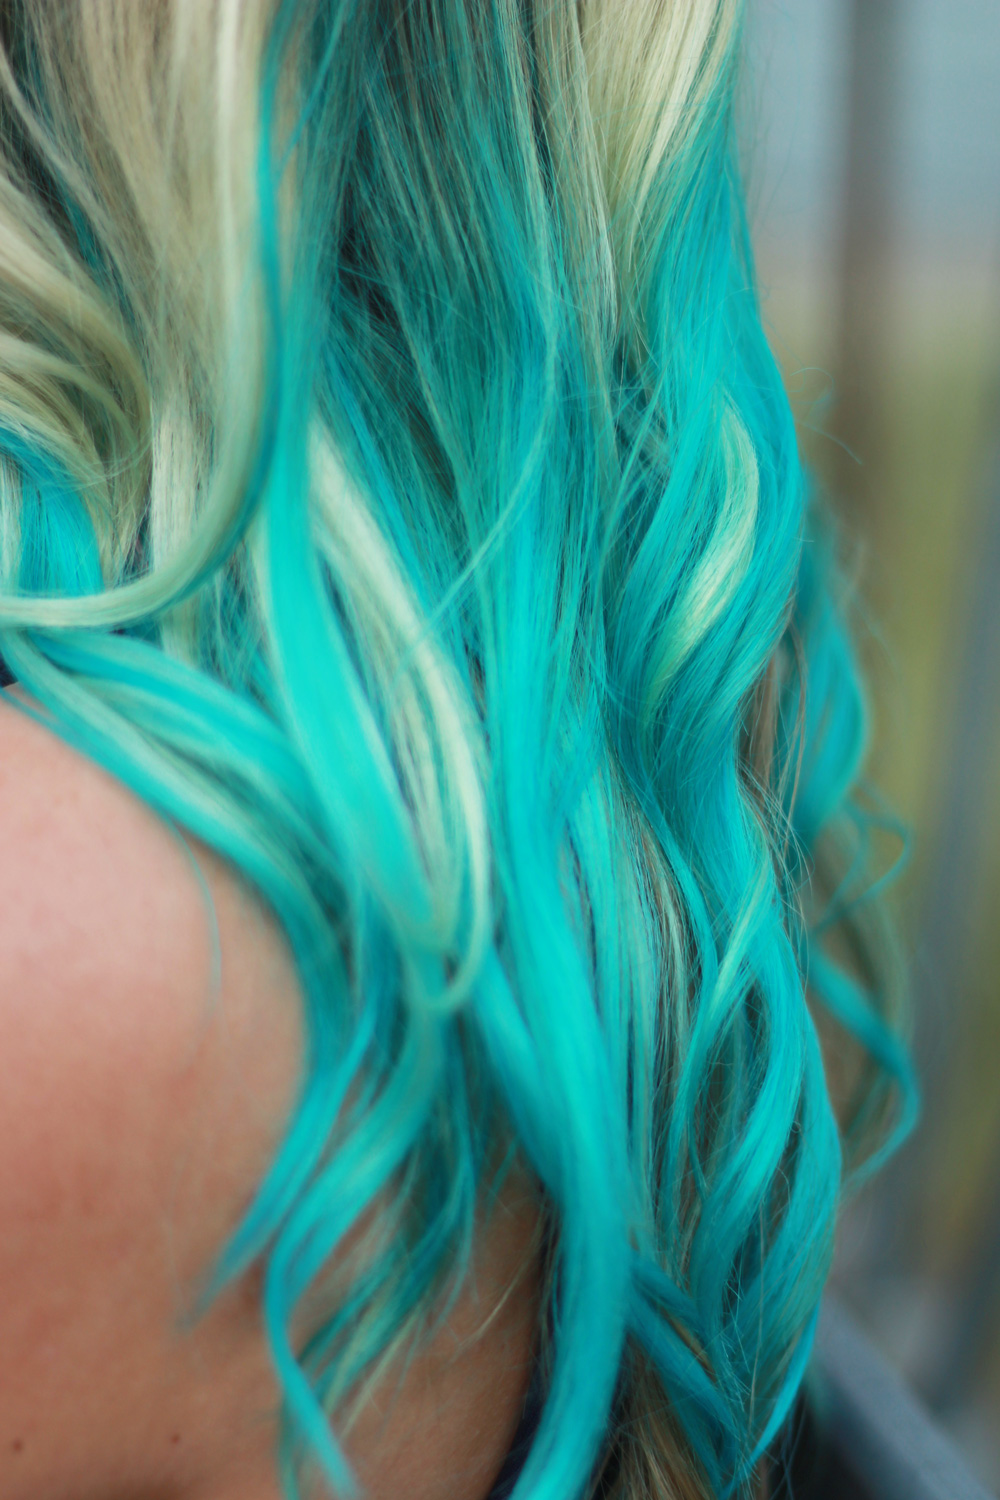
Let me be upfront with you: this post is not so much an outfit post as it is a hair post. I’ve been experimenting with ~mermaid hair~ and, let me tell you, I’m VERY in love. The downside is that it fades so quickly! Since I just freshened it up, I jumped on the opportunity to snap a few pics and share them with all of you. I can’t bring myself to commit to a full-fledged head of turquoise hair, but I’m loving this peek of color and how it looks with the blonde. You all must know by now that aqua/turquoise is my #1 love when it comes to color, so this was a no-brainer for me when I decided I wanted to do something a little exciting with my hair.
If you’ve been thinking of jumping on the Pastel Hair Trend Train (that’s a thing, right??), it’s actually fairly straightforward to obtain at home as long as you bleach your hair first. If you don’t start with very light strands, you’re not going to get good pastel color because it won’t show up on darker hair. For this, you’re probably best off seeing a professional hairdresser so you don’t ruin your hair. Once you have your bleached out strands, follow these steps*:
- Find a good semi-permanent hair color. I used Manic Panic because it’s been around forever and I’ve heard a lot of good about it. The apparently sell pastel colors, but I couldn’t easily find any in stores, so I used their High Voltage Classic line.
- If you’re starting with a non-pastel color, mix it in a bowl with conditioner (just make sure it’s white conditioner) until you reach the shade you want. The color you see will be pretty close to what it looks like in your hair, except since most blonde has some yellow in it, then it may turn a bit yellower. I used a color called Atomic Turquoise and it looked more blue than turquoise in my mixing bowl. As soon as I applied it to my hair, it looked very turquoise.
- If you’re not doing your full head, separate the pieces you want to color from the ones you don’t. Cover the areas you don’t want to color with saran wrap and secure with bobby pins.
- Paint the pieces you want to color with a tint brush (a medium-sized paint brush works in a pinch) and make sure your strands are properly saturated. If you have someone else willing to help you (my husband did mine TBH) then they can help you reach the back pieces and they can help ensure you don’t end up with a blotchy dye-job. If you’re confident in your own abilities, though, then all the more power to you!
- Cover the painted pieces with more saran wrap and secure them with hair clips or ties.
- Wait about 30-45 minutes (depending on how vivid you want the color to be).
- Rinse your hair in cool water until the water runs clear. Some sites may tell you not to wash your hair right after coloring it, but I’ve always done that and I’ve had no problems. It’s totally up to you. Just make sure you dry your hair with a dark towel for the next few washes just in case you have any residual dye.
- Dry and admire your new hair!
Just keep in mind that most of these colors are going to fade pretty visibly with each wash, so you may want to be prepared to re-color your hair pretty frequently.
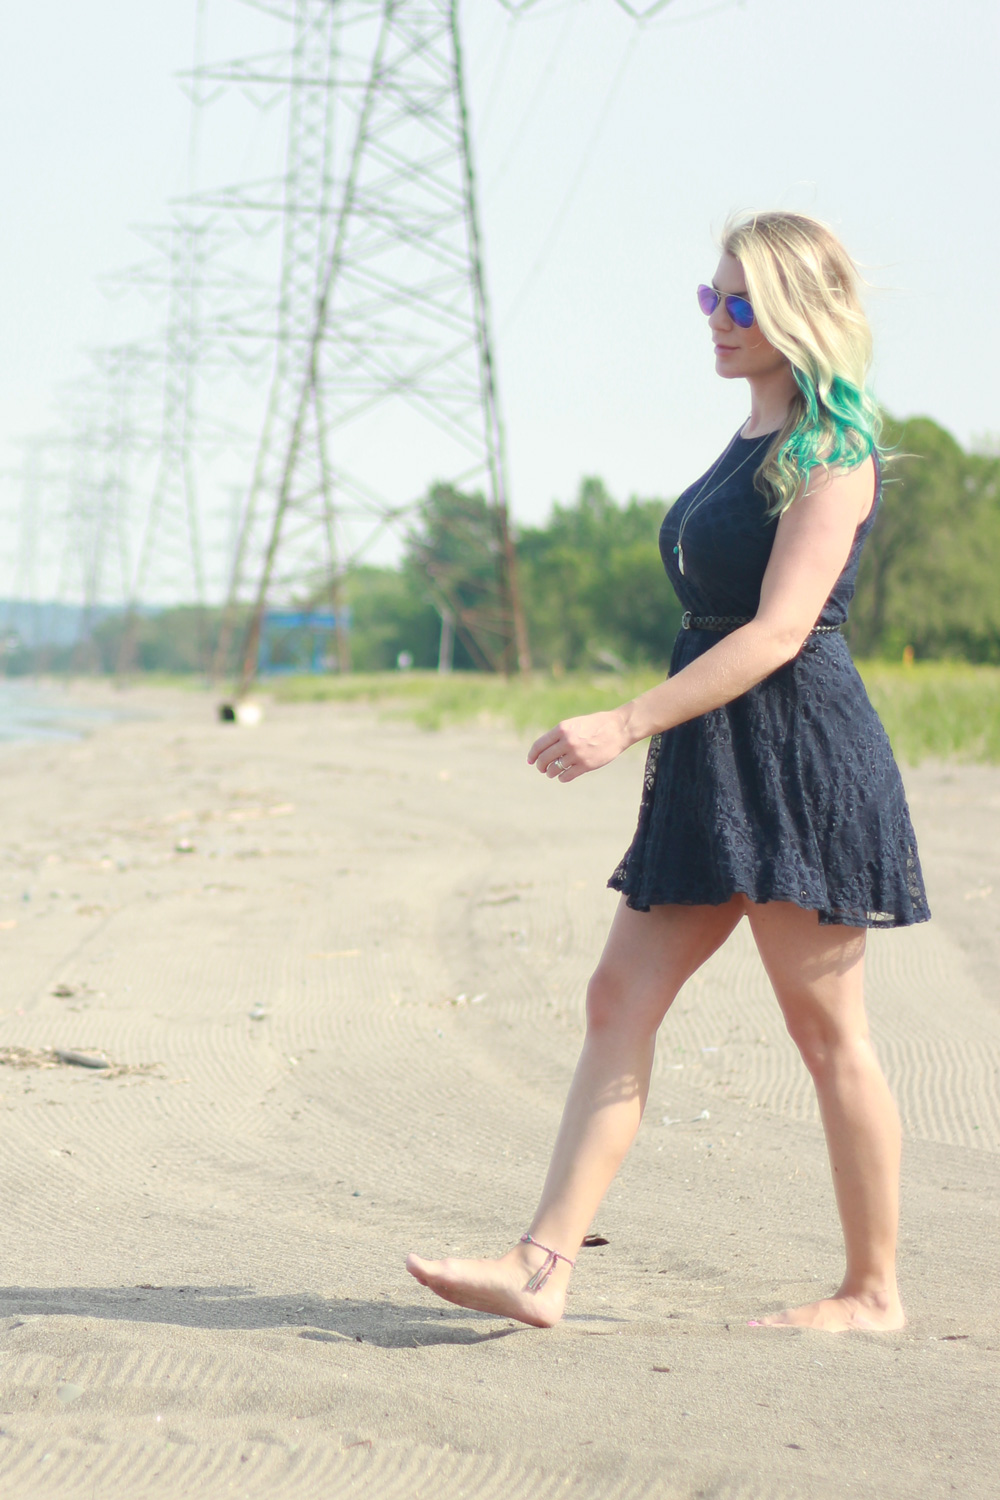
Now, since this is still technically an outfit post, here are more pics of my clothes 😉
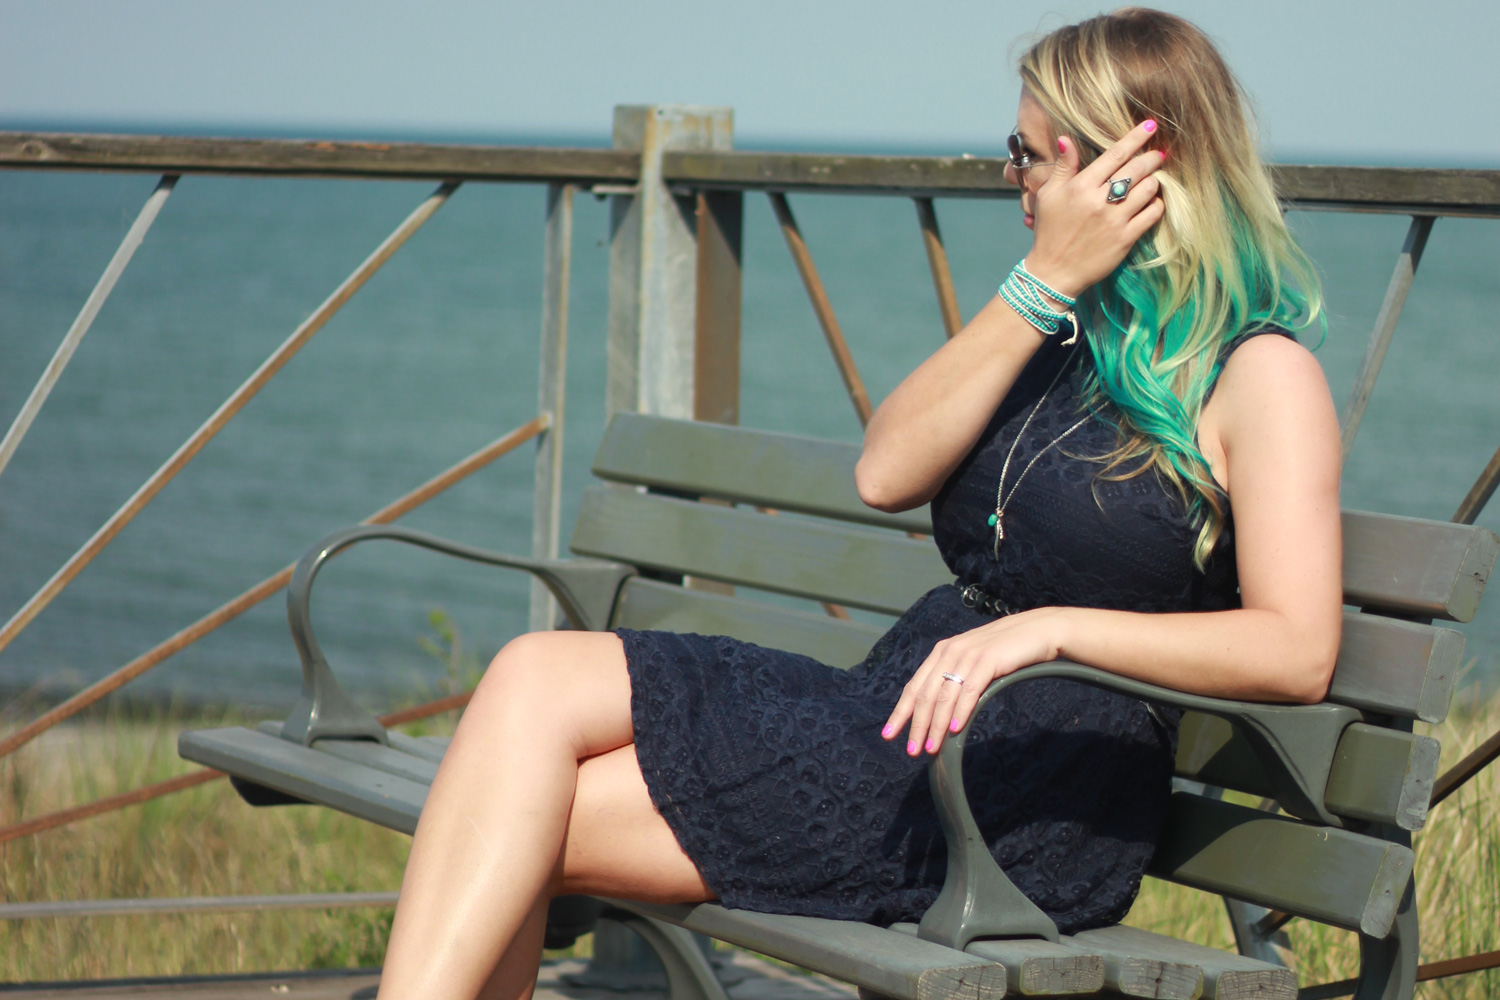
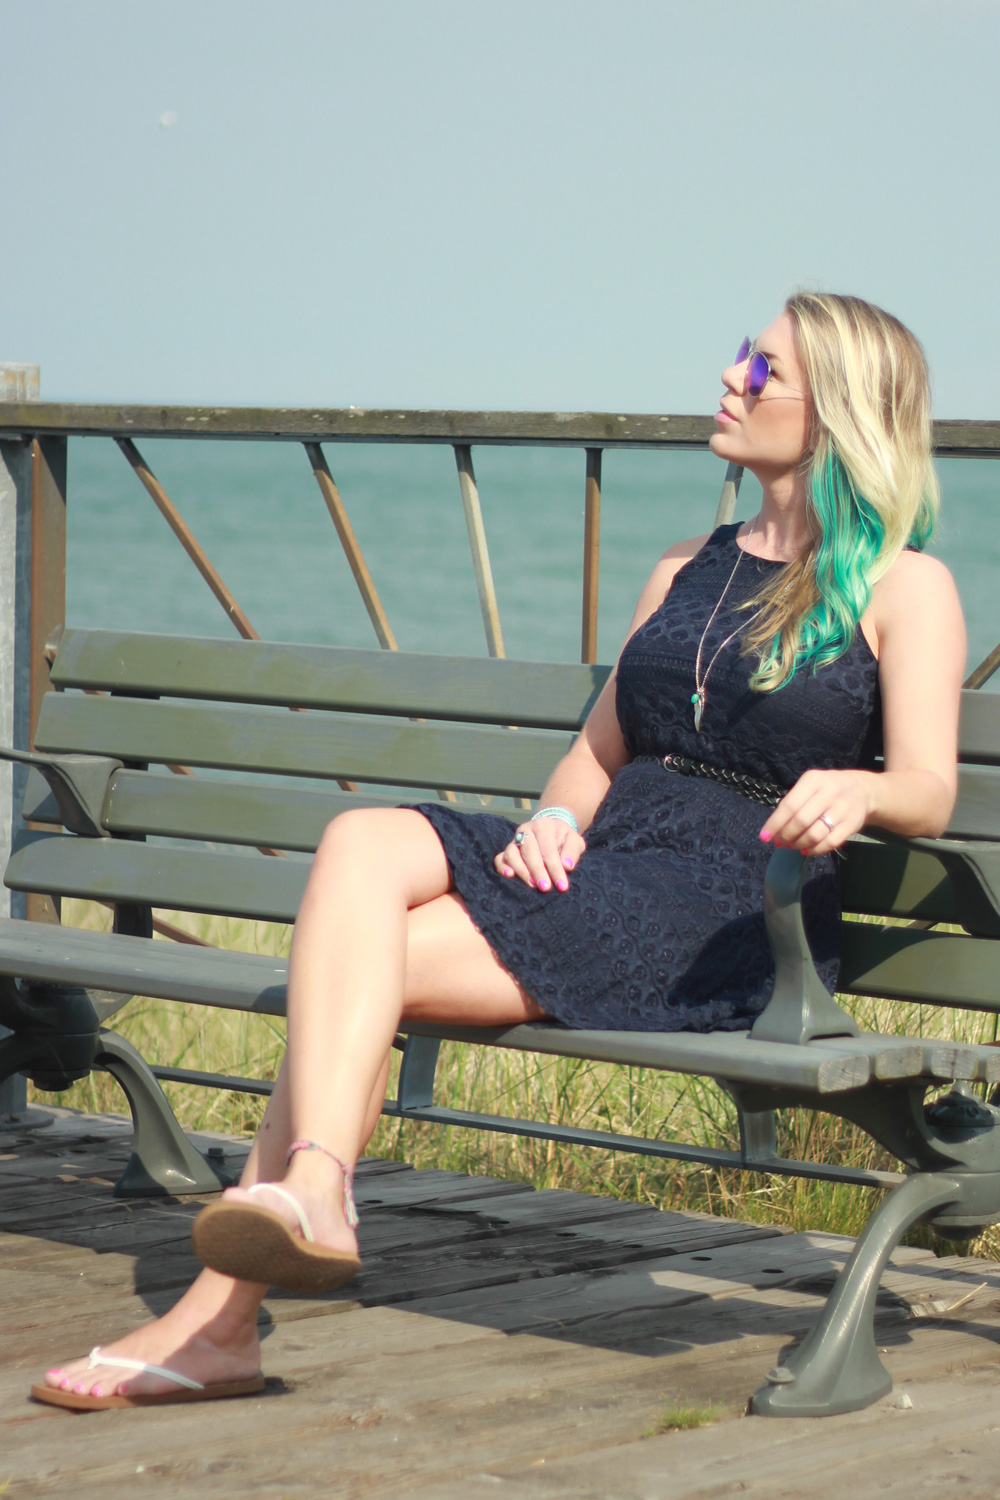

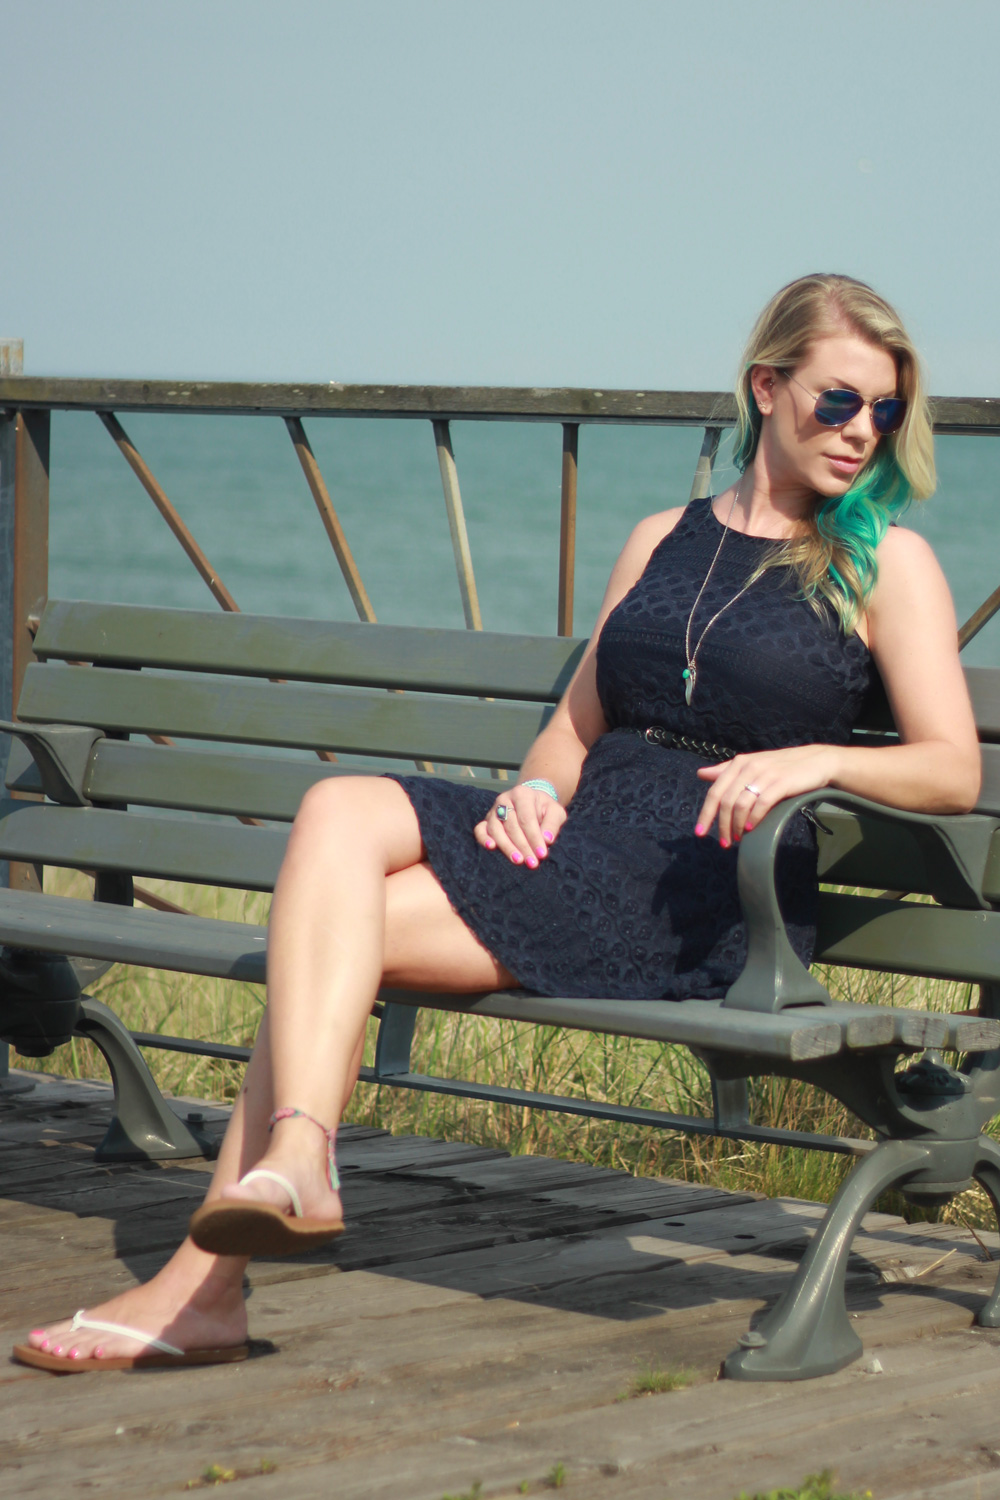
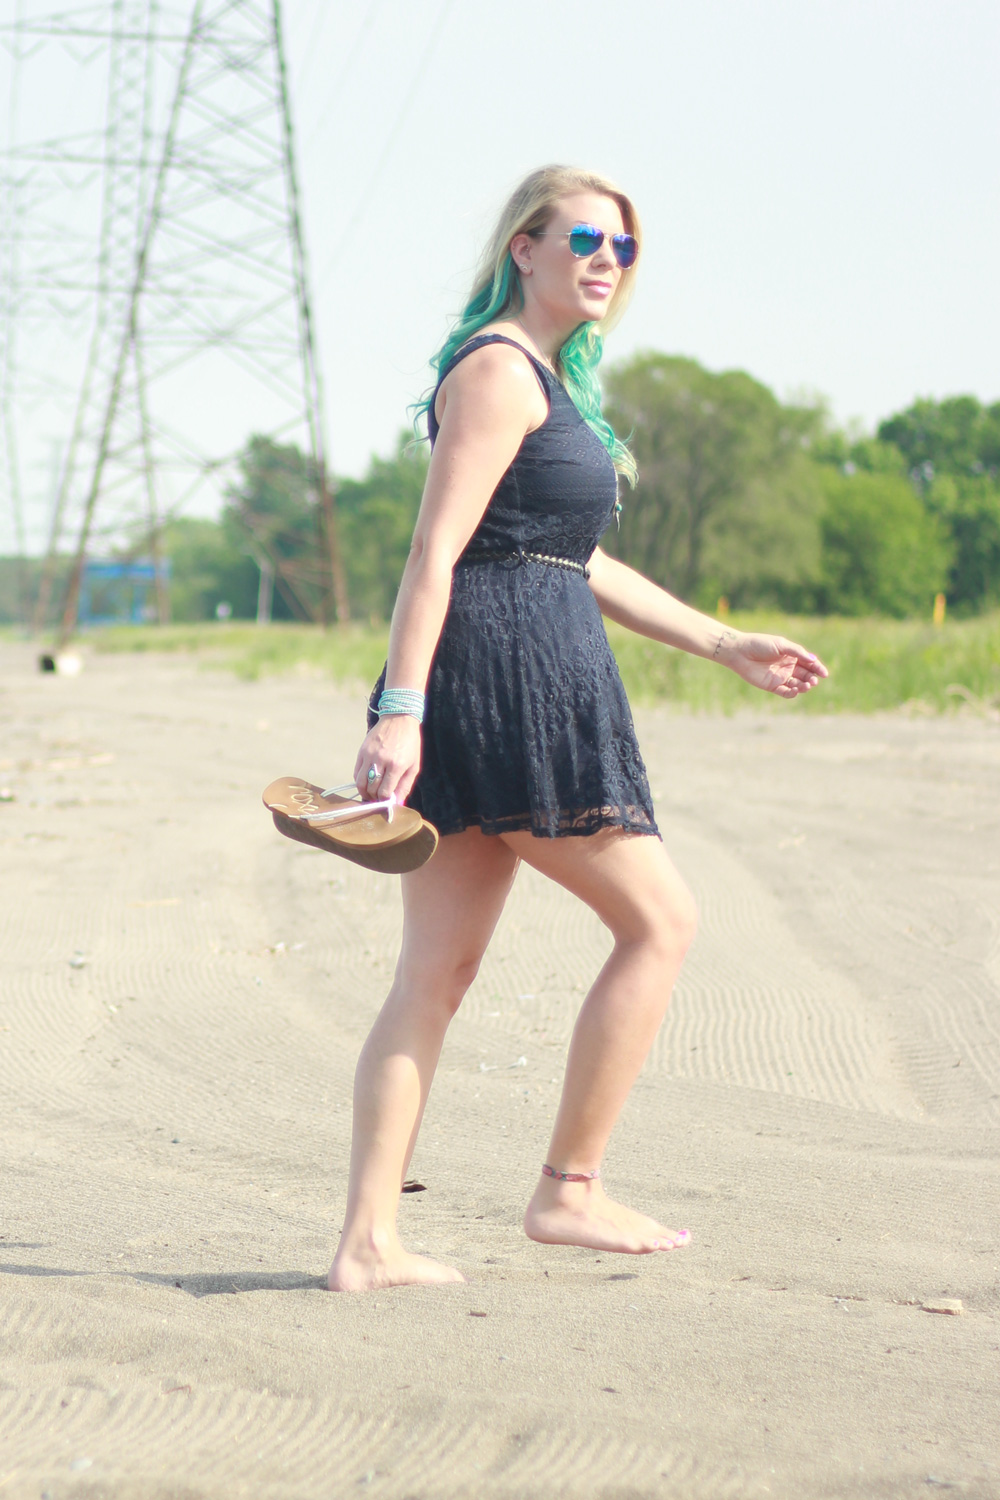
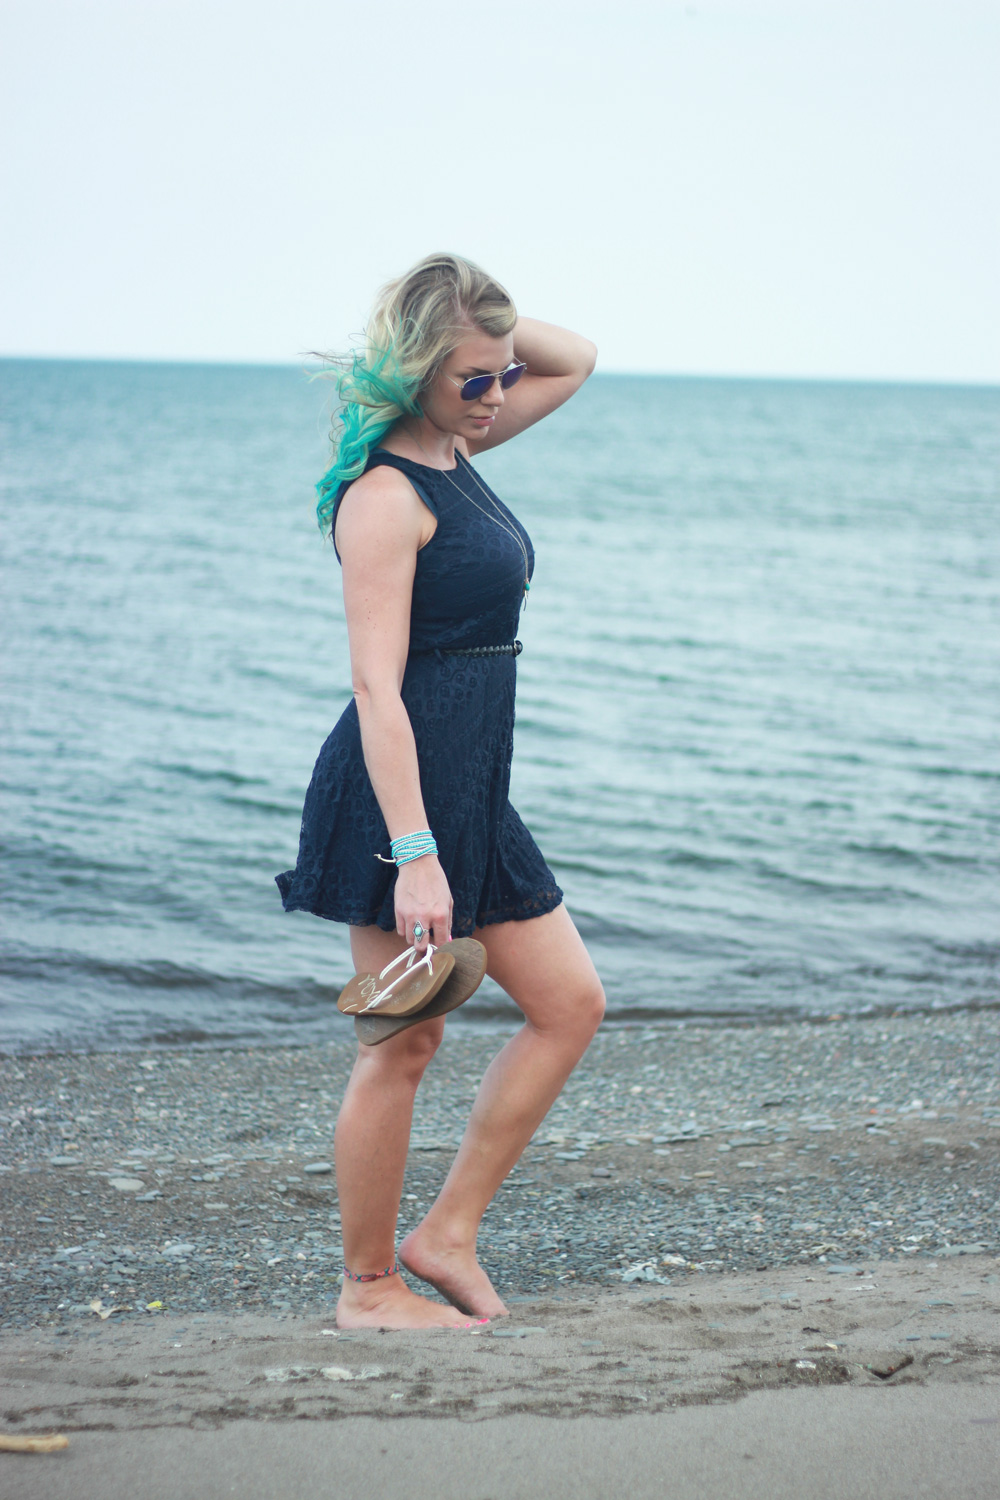
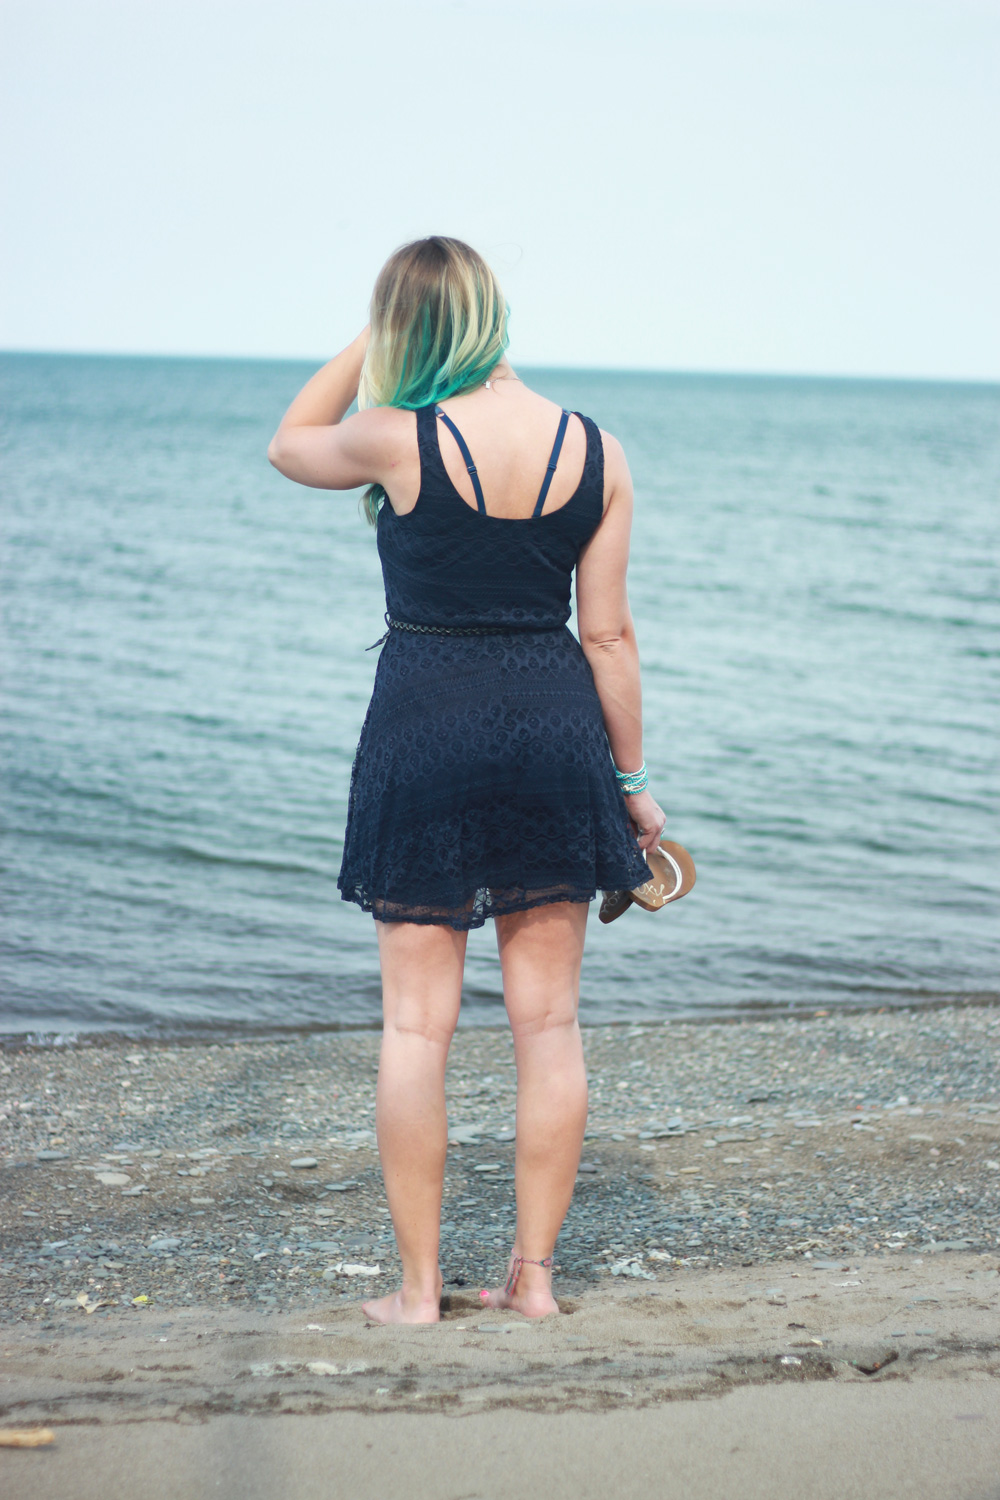
I kept my outfit pretty simple and neutral so I could let my hair be the star of the show. I love navy blue with turquoise, so I chose this simple lace dress from Ardene and paired it with a few turquoise accessories.
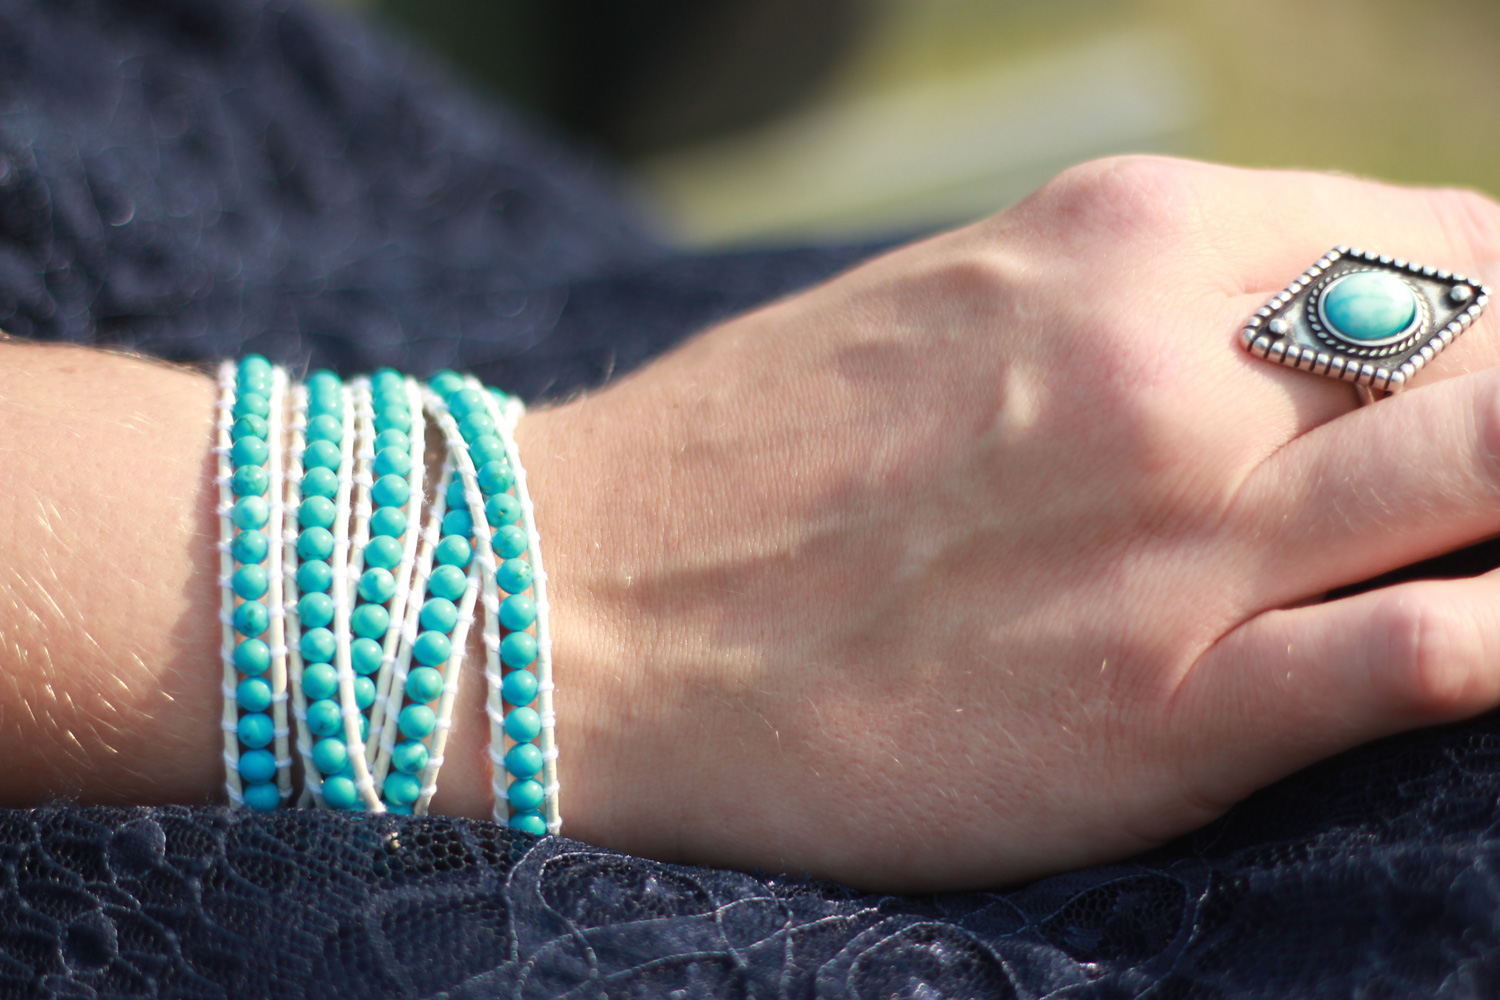
My bracelet is from Victoria Emerson and my ring is from American Eagle.
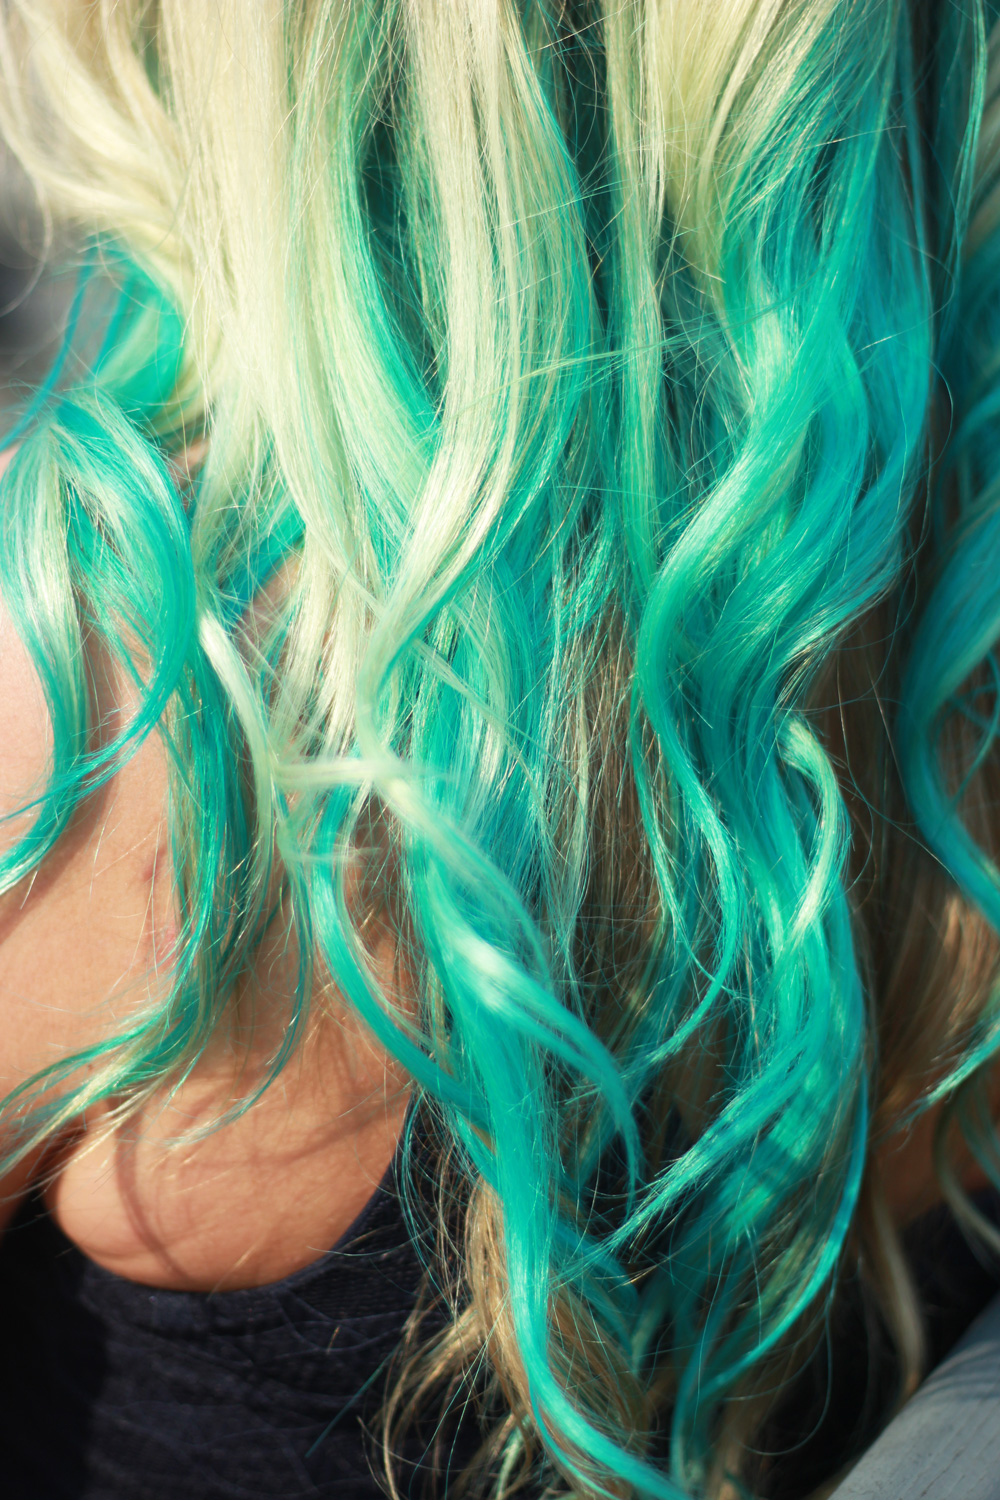
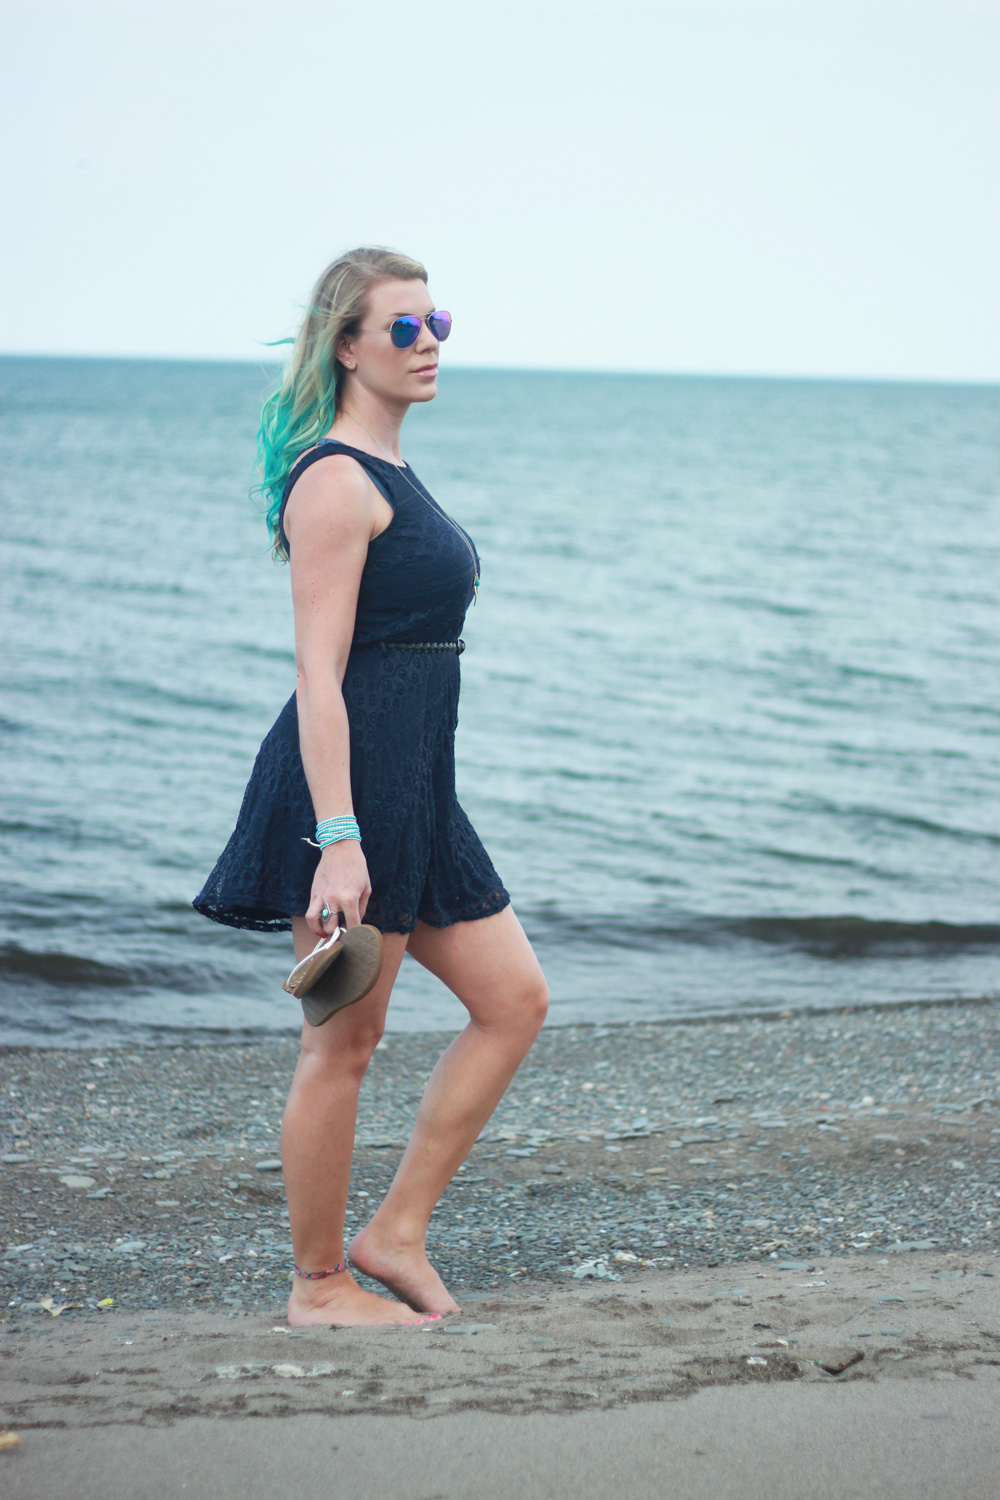
One more closeup of my hair in the sunshine 😉
Thank you for reading and have a great weekend!

*Disclaimer: I’m not a hair expert. This is just my own experience with doing my own hair, so proceed with caution.


 fashion lover • interior decorator • canadian girl with a southern soul