
 Growing up, my parents used to make huge batches of strawberry and peach jam each summer. I remember the kitchen being overtaken with fruit and jam jars, while my parents lovingly made delicious spreads to last the year. Yum! The other day, I found myself reminiscing about this and wondering why they stopped this yearly ritual. I had to assume that they had silently passed the baton over to me without letting me know. So I set off to make some jam that would make them proud!
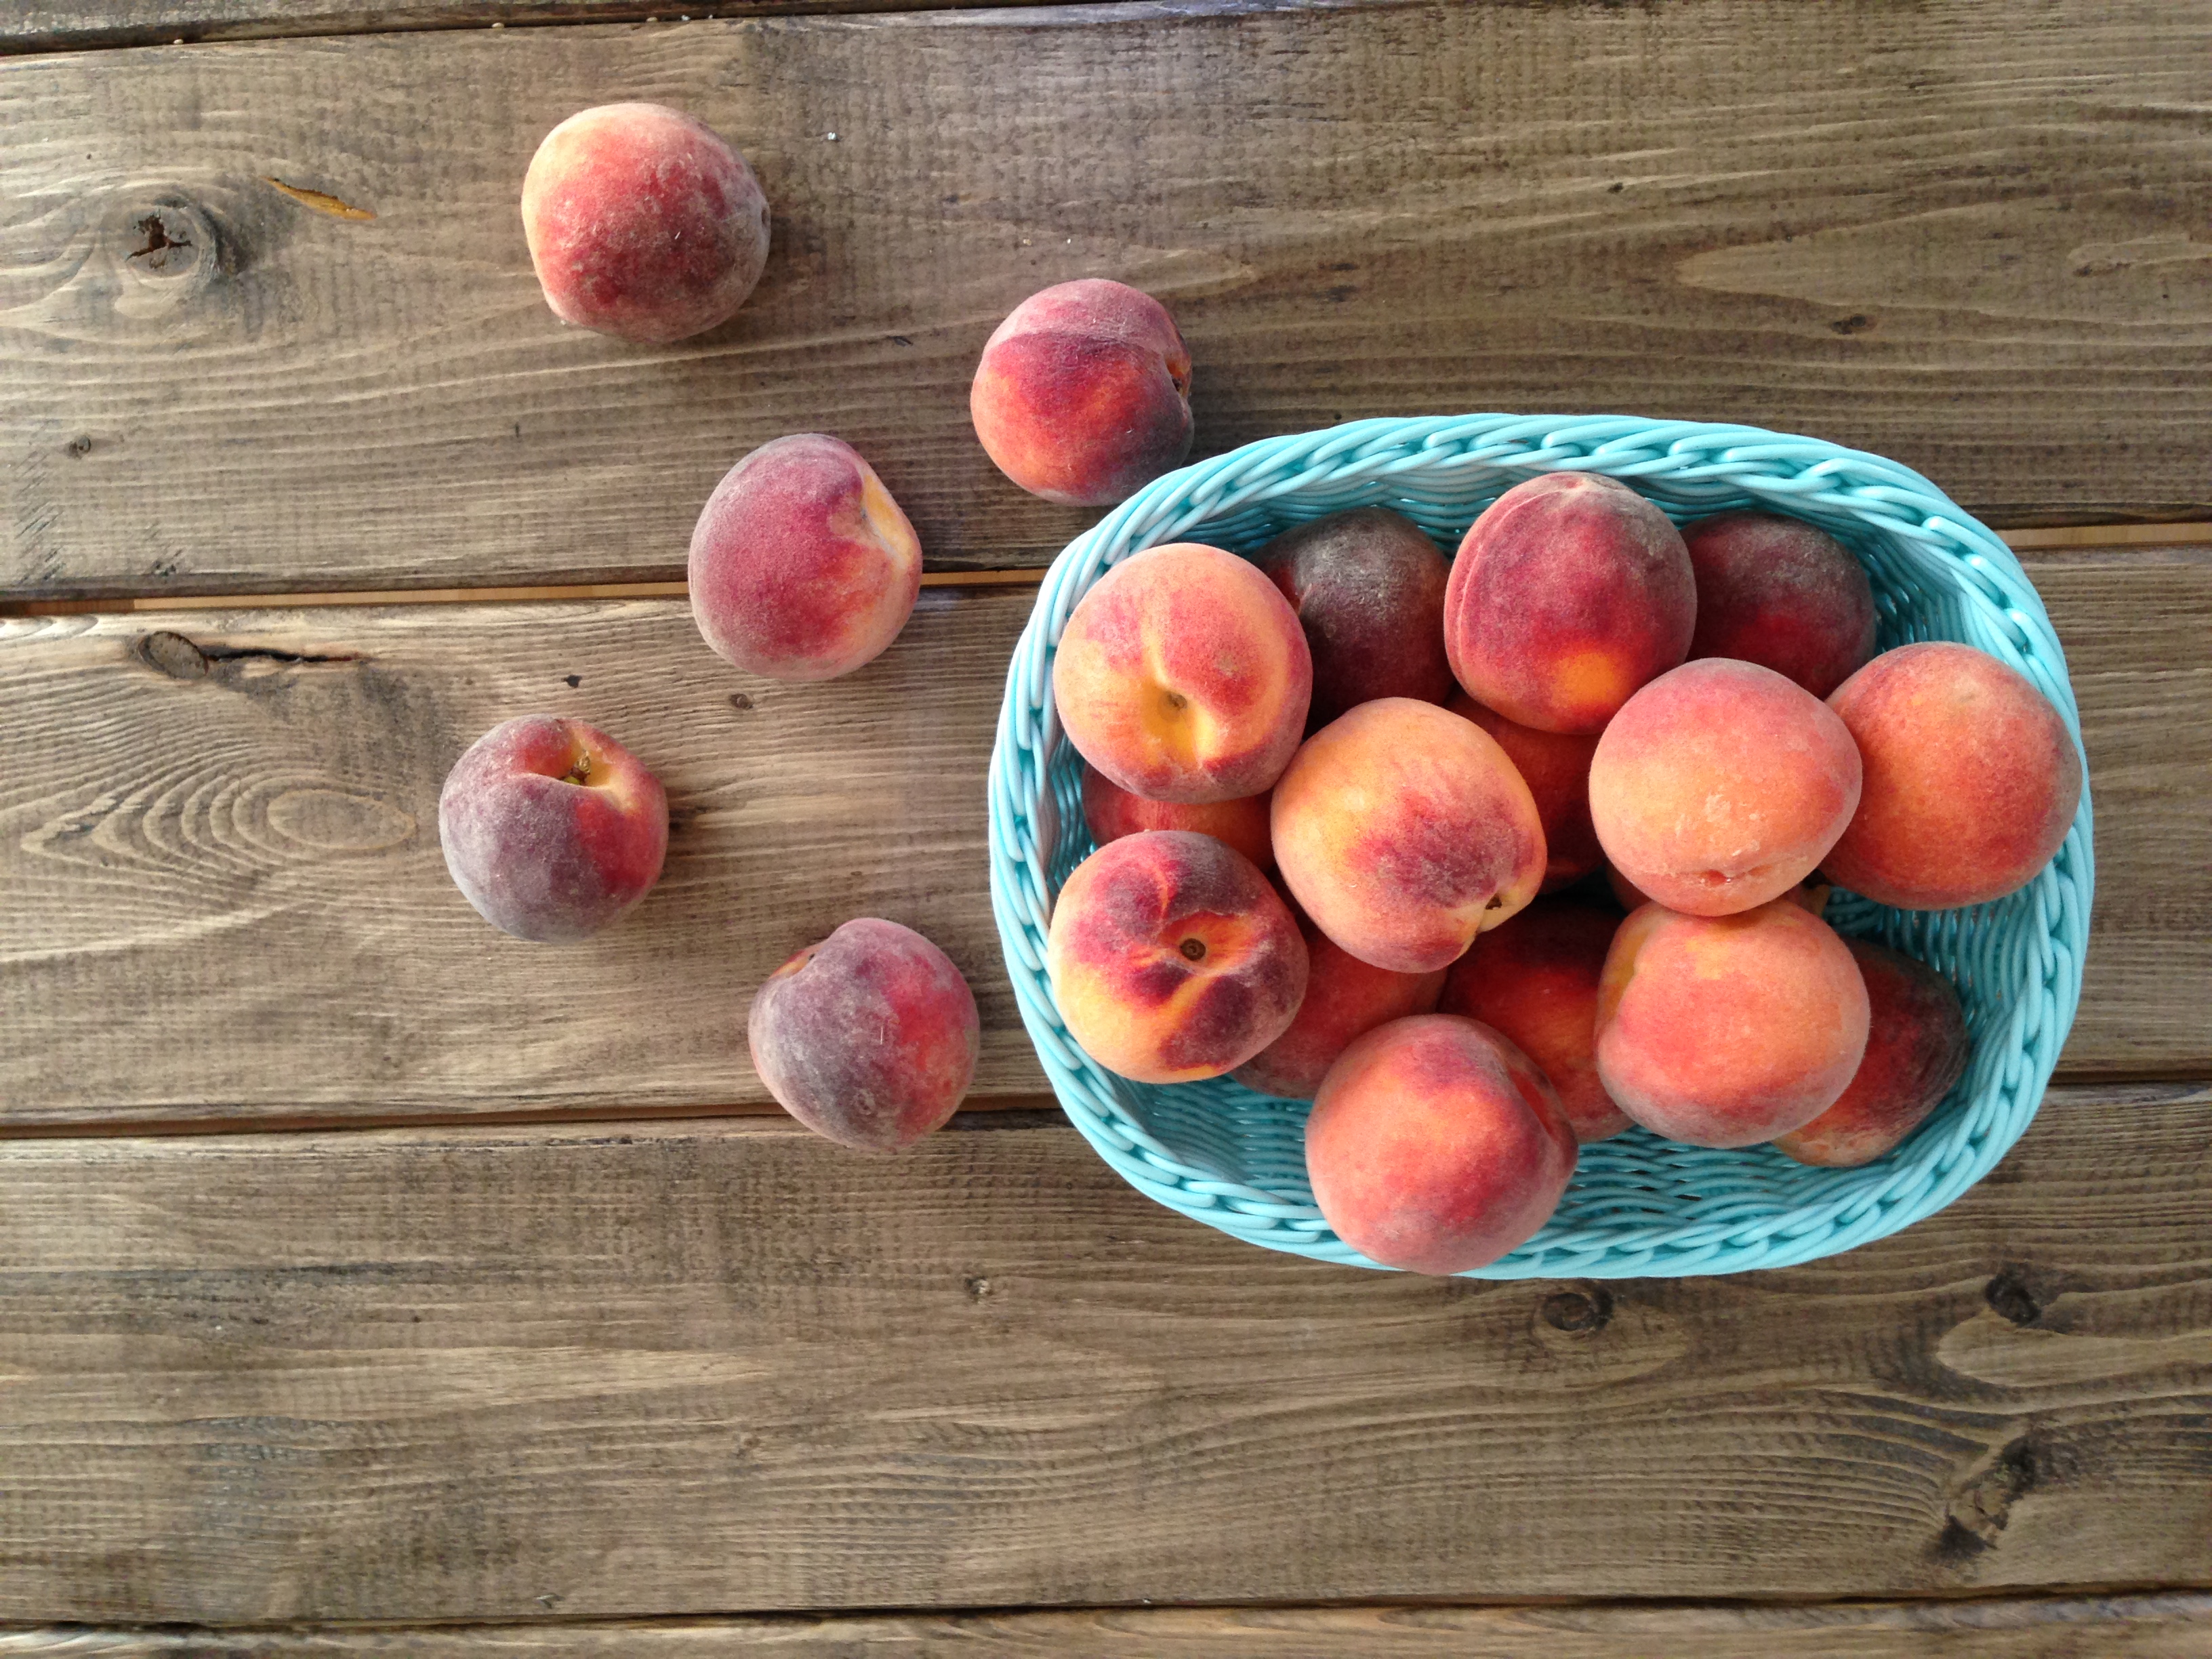
Eagerly, I frolicked over to the supermarket and bought a pretty basket of local peaches. My husband has a theory that the cheaper the produce is, they yummier it is. He’s usually right (shhhh, don’t tell him I said that!) These peaches were cheap, so I took that as a good sign. I also stopped by a local European market to get some Gelfix because that’s what my parents always used (I had to make them proud, remember?)
Home I went and I got to work right away. Ok, fine, I got to work five days later, but I was busy, so don’t judge me. I decided to try a bourbon vanilla bean version. I’ll add vanilla bean to pretty much any sweet treat because I’m obsessed. As for the bourbon, I don’t usually like it, but peaches and bourbon just go hand in hand, so what the heck. Spoiler alert: it works so well in this recipe!
Enjoy!


- 1 kg Fresh Peaches peeled, pitted & diced
- 2 1/4 cups Sugar
- 1 packet Gelfix
- 1/4 cup Bourbon, Whisky or Rye choose your favorite kind
- 5 Mason Jars I recommend 250ml size
- First, get your mason jars sterilized and ready to go. Fill a large pot with the jars and cover them fully with water, making sure the water is at least 1 inch above the top of the jars. Bring the water to a boil, then continue to boil for at least 10 minutes. After that, you can turn off the burner and let them sit in the hot water for up to an hour. You can also put the lids and rings in the water at this point, since boiling them could damage the seals.
- Peel, pit and dice up your peaches. This will probably be the most time-consuming part of the job. Just be patient; it's totally worth it!!

- Put the diced peaches into a bowl for easy transfer.

- Toss all your ingredients into a pot. Turn your burner to high heat and stir your mixture. Once it boils, stir constantly for 2 minutes, then remove from heat. If you'd like a smoother mixture, use an immersion blender and quickly give your jam a puree. If not, just leave it as is.

- Take your jars out of the hot water, drain them and place them on a towel. Fill them up with 1/4 inch of space left at the top.

- Seal your jars and turn them upside-down immediately. Let them sit for 5 minutes, then turn them right side up again. Let them cool on the counter.


- If you're feeling crafty like I was, you can wrap the lids like I did. I just used kraft paper and twine, but you could use wrapping paper or really any paper you want. Let your imagination run wild! I also used Scotch brand chalkboard labels, which I love because they stick well, but they're removable. This way, I can reuse my jars later. I also used chalk markers to label them.

 fashion lover • interior decorator • canadian girl with a southern soul